Next.js + Typescript + Styled-components 개발 환경 설정
개요
Next.js + Typescript 와 Styled-components(CSS in JS) 를 사용하는 개발 환경을 구축하는 과정을 기록해두어 필요할 때 사용하고자 한다.
이 블로그를 참고하여 작성했다.
Create-Next-App
npx create-next-app@latest --ts
타입스크립트를 사용하는 Next.js 프로젝트를 생성한다.

npx yarn add styled-components

npm i --save-dev @types/styled-components
npm install styled-reset
npm i @next/bundle-analyzer
styled-components와 타입 정의 요소를 설치한 후 목적에 따라 디렉토리를 구분한다.

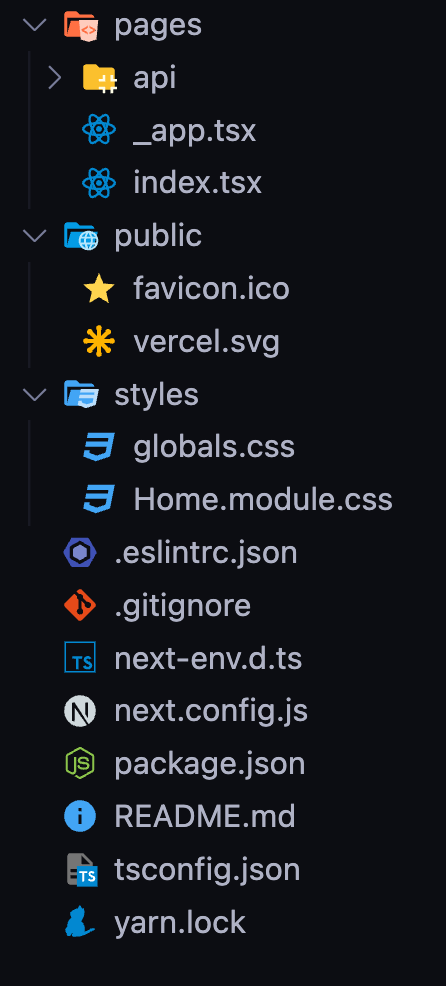
pages는 Next.js에서 auto routing 되는 페이지들을 작성한다.
components에는 재활용 가능한 컴포넌트들을 작성한다.
shared에는 utils.ts와 type, interface와 enum들이 작성되는 const.ts를 작성한다.
styles에는 styled-component로 작성한 전역 스타일(+reset)과 미디어 쿼리를 포함한 테마 요소들, 그리고 인터페이스 정의를 위한 styled.d.ts 을 작성한다.
_app.tsx
import type { AppProps } from 'next/app'
import Head from 'next/head'
import { ThemeProvider } from 'styled-components'
import { GlobalStyle } from '../styles/global-style'
import { theme } from '../styles/theme'

function MyApp({ Component, pageProps }: AppProps) {
  return (
    <>
      <Head>
        <meta name='viewport' content='width=device-width, initial-scale=1' />
        <title>boilerplate</title>
      </Head>
      <GlobalStyle />
      <ThemeProvider theme={theme}>
        <Component {...pageProps} />
      </ThemeProvider>
    </>
  )
}

export default MyApp
_app.tsx는 서버로 요청이 들어왔을 때 가장 먼저 실행되는 컴포넌트로, 페이지에 적용할 공통 레이아웃의 역할을 수행한다.
즉, 모든 컴포넌트에 공통적으로 적용할 속성들을 관리하기 위한 파일이다.
이 파일에서 styled-components에서 제공하는 전역 스타일링을 적용할 수 있으며 ThemeProvider을 전역으로 적용하여 커스텀 테마를 적용할 수 있다.
_document.tsx
import Document, {
  Html,
  Head,
  Main,
  NextScript,
  DocumentContext,
} from 'next/document'
import { ServerStyleSheet } from 'styled-components'

class MyDocument extends Document {
  static async getInitialProps(ctx: DocumentContext) {
    const sheet = new ServerStyleSheet()
    const originalRenderPage = ctx.renderPage
    try {
      ctx.renderPage = () =>
        originalRenderPage({
          enhanceApp: (App) => (props) =>
            sheet.collectStyles(<App {...props} />),
        })

      const initialProps = await Document.getInitialProps(ctx)
      return {
        ...initialProps,
        styles: (
          <>
            {initialProps.styles}
            {sheet.getStyleElement()}
          </>
        ),
      }
    } finally {
      sheet.seal()
    }
  }

  render() {
    return (
      <Html>
        <Head>// 각종 메타 태그 및 웹 폰트</Head>
        <body>
          <Main />
          <NextScript />
        </body>
      </Html>
    )
  }
}

export default MyDocument
_app.tsx 파일은 프로젝트를 생성하면 자동으로 만들어지는데 _document.tsx 파일은 그렇지 않다.
_document.tsx는 _app.tsx 다음에 실행된다.
페이지에 공통적으로 활용할 <head>(메타 태그, 웹 폰트 등)나 <body> 태그 안에 들어갈 내용들을 커스텀할때 활용한다. _document.tsx 는 오직 서버에서만 실행된다.
그래서 두 파일의 주요한 특징을 나눠보면 _app.tsx는 로직, 전역 스타일 등 컴포넌트에 공통적으로 사용할 데이터를 다룬다.
_document.tsx는 공통적으로 적용할 HTML을 마크업한다.
styled-components를 통해 페이지를 만들다 보면 페이지를 불러올 때 HTML 만 가져오고, 스타일이 적용되어있지 않다. 위 코드를 추가해줘야만 서버 사이드 렌더링 시 styled-components가 헤더에 주입된다. 즉 서버에서 미리 HTML을 마크업할 때 스타일까지 HTML 요소에 녹여내는 것이다.
이를 _document.tsx가 수행한다.
next.config.js
module.exports = {
  webpack: (config) => {
    config.module.rules.push({
      test: /\.svg$/,
      use: ['@svgr/webpack'],
    })
    return config
  },
}
SVG 포맷 이미지를 다루기 위해 webpack 로더를 추가한다.
.babelrc
최초 서버 사이드에서 렌더링 이후 클라이언트 사이드 렌더링으로 라우팅을 하게 된다. 이 때 서버에서 생성하는 해시값과 브라우저에서 생성하는 해시값이 서로 달라 에러가 발생하게 된다.(Prop className did not match)
이를 방지하기 위해 styled-components 바벨 플러그인을 설치한다.
npm install --save-dev babel-plugin-styled-components
{
    "presets": [
        "next/babel"
    ],
    "plugins": [
        [
            "babel-plugin-styled-components",
            {
                "fileName": true,
                "displayName": true,
                "pure": true
            }
        ]
    ]
}
fileName : 코드가 포함된 파일명을 알려줌
displayName : 클래스명에 해당 스타일 정보 추가
pure : 사용하지 않은 속성 제거
theme.ts
theme.ts 에서는 전역으로 사용되는 CSS 요소, 테마, 미디어 쿼리 등을 작성한다.
import { DefaultTheme } from 'styled-components'

export const theme: DefaultTheme = {
  color: {
    purple: '#8661de',
    blue: '#00bac7',
  },
  boxShadow: {
    normal: '0 3px 8px 0 rgb(0 0 0 / 10%)',
    purple: '0 3px 8px 0 #d6c9ff',
    blue: '0 3px 8px 0 #b3e2e6',
  },
}

const customMediaQuery = (maxWidth: number): string =>
  `@media (max-width: ${maxWidth}px)`

export const MIXINS = {
  // flex
  flexBox: (direction = 'row', align = 'center', justify = 'center') => `
    display: flex;
    flex-direction: ${direction};
    align-items: ${align};
    justify-content: ${justify};
  `,

  // positions
  positionCenter: (type = 'absolute') => {
    if (type === 'absolute' || type === 'fixed')
      return `
        position: ${type};
        left: 50%;
        top: 50%;
        transform: translate(-50%, -50%);
      `
    return
  },
}

export const media = {
  custom: customMediaQuery,
  pc: customMediaQuery(1440),
  tablet: customMediaQuery(768),
  mobile: customMediaQuery(576),
}
반응형에 따라 컴포넌트의 UI가 달라지는 동작을 짧은 코드로 수행할 수 있고, FlexBox 도 미리 지정하여 전역으로 사용할 수 있다.
...

const StyledSection = styled.section`
  width: 100%;
  ${({ theme }) => theme.MIXINS.flexBox('column')}
  @media ${({ theme }) => theme.media.pc} {
    margin-bottom: 80px;
  }
  @media ${({ theme }) => theme.media.mobile} {
    margin-bottom: 56px;
  }
`
위와 같이 미디어 쿼리를 변수에 따라 적용할 수 있고, FlexBox 도 간편하게 정의할 수 있다.
 {
  display: flex;
  flex-direction: column;
  justify-content: center;
}
3줄 이상 차지하는 FlexBox 코드를 한 줄로 줄일 수 있다.
위 처럼 프로젝트를 시작하기 전에 환경을 구축해놓고 시작한다면 보다 쾌적하게 개발할 수 있을 것 같다.
styled-components 익스텐션
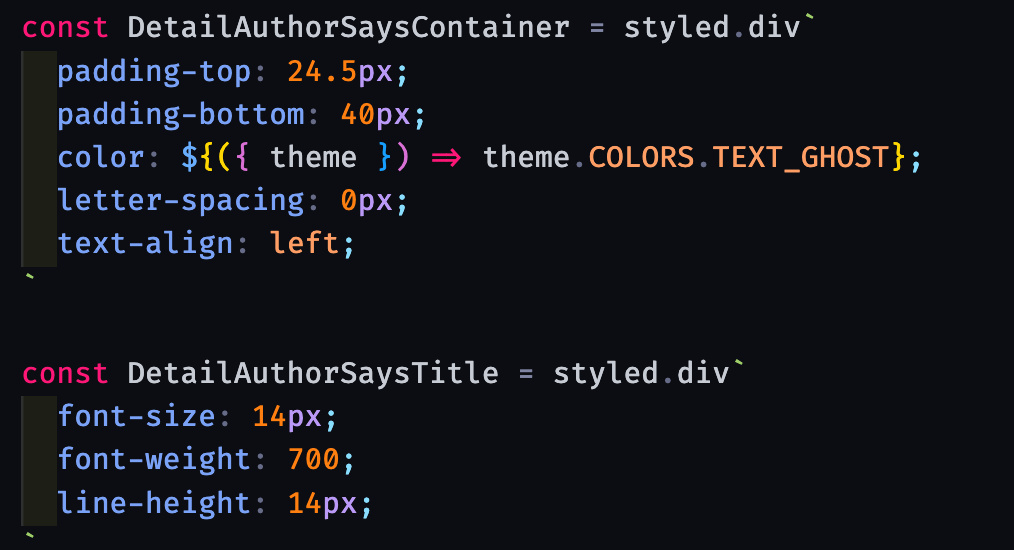
지금까지 styled-components 를 사용해오며 느꼈던 불편함은 기존 CSS 처럼 자동완성이 되지 않고, 백틱에 일일히 스타일을 입력해야하는 것이었다.
불편함을 느꼈지만 이를 개선해보자 하는 생각 조차 없어서 부끄럽지만, styled-components를 사용한다면 꼭 필요한 익스텐션이 있다.

vscode-styled-components 이 익스텐션을 사용하면 styled-components 로 스타일을 작성할 때 기존의 css와 동일한 경험을 할 수 있다.